Organize Your Garage in One Morning
Overview
There are lots of ways to create more storage space in your garage, but you won’t find another system that’s as simple, inexpensive or versatile as this one. It begins with a layer of plywood fastened over drywall or bare studs. Then you just screw on a variety of hooks, hangers, shelves and baskets to suit your studs. And because you can place hard- ware wherever you want (not only at studs), you can arrange items close together to make the most of your wall space. As your needs change, you’ll appreciate the versatility of this storage wall too; just unscrew shelves or hooks to rearrange the whole system.
We used three types of storage hardware: wire shelves, wire baskets, and a variety of hooks, hangers and brackets. Selecting and arranging these items to suit your stuff can be the most time-consuming part of this project. To simplify that task, outline the dimensions of your plywood wall on the garage floor with masking tape. Then gather all the stuff you want to store and lay it out on your outline. Arrange and rearrange items to make the most of your wall space. Then make a list of the hardware you need before you head off to the hardware store or home center.
Looking for a little more guidance with building an ultimate garage storage system? Check out our online quick class that offers just that!
Money, materials and planning
The total materials bill for the 6 x 16-ft. section of wall shown here was about $200. Everything you need is available at home centers. We used 3/4-in.- thick “BC” grade plywood, which has one side sanded smooth. You could save a few bucks by using 3/4-in. OSB &lrdquo;chip board” or MDF. But don’t use particleboard; it doesn’t hold screws well enough for this job. Aside from standard hand tools, all you need to complete this project is a drill to drive screws and a circular saw to cut plywood. You may also need a helper when handling plywood—full sheets are awkward and heavy.
This project doesn’t require much planning; just decide how much of the wall you want to cover with plywood. You can cover an entire wall floor-to-ceiling or cover any section of a wall. We left the lower 3 ft. of wall and upper 18 in. uncovered, since those high and low areas are best used for other types of storage. To make the most of our plywood, we combined a course of full-width sheets with a course of sheets cut in half. If your ceiling height is 9 ft. or less, a single 4-ft.-wide course of plywood may suit your needs.
Cover the wall with plywood
Photo 1: Snap level chalk line and locate studs
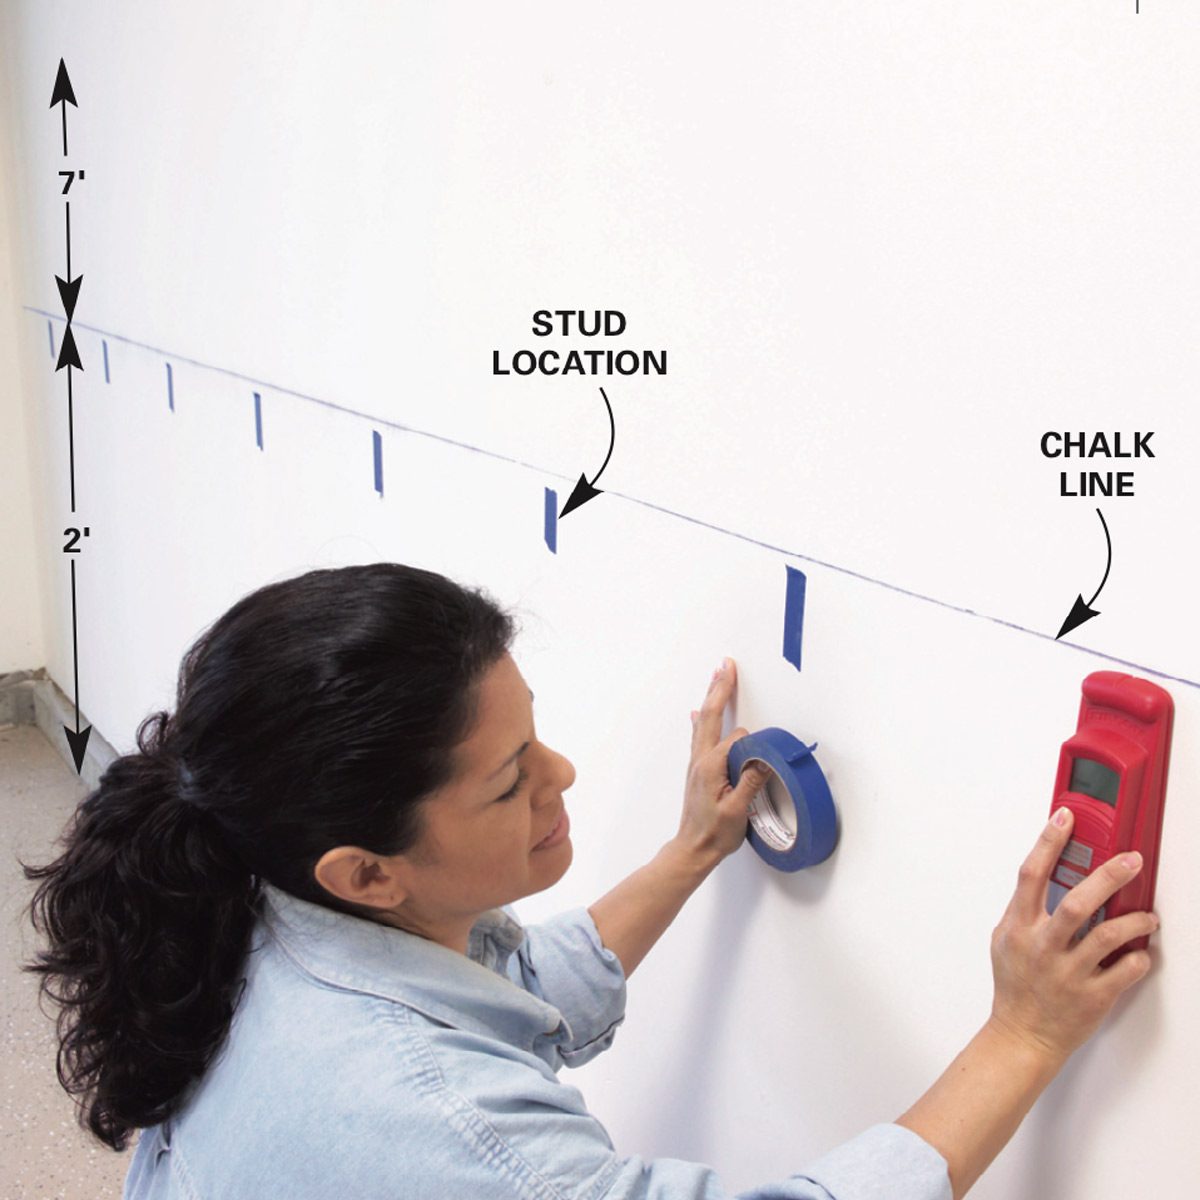
Snap a level chalk line to mark the bottom edge of the plywood. Locate studs and mark them with masking tape.
https://www.familyhandyman.com

Comments
Post a Comment